Tuesday, September 10, 2013

A whole lot of thread

A little package arrived today which was my backorder from WAWAK Sewing supply: a 6000 yd spool of cream jeans thread and bowtie hardware.  This is a whole a lot of thread!  But I have been sewing a lot of jeans--three pairs and two pairs of jean shorts for my daughter this summer. And so I was wanting to add to my selection of top stitching thread colors.
What about the bowtie hardware? Well, these were on sale and a couple years ago I was going crazy trying to find some of this hardware, which came in packages of two. 


Thursday, September 5, 2013

More Jalie Crossover Top

I am so excited about how little time it takes to make this top, basically a T-shirt which can be worn just about anywhere. It is comfortable enough for casual wear, but much nicer than a regular T-shirt. I decided to make one up for Isabel in polka-dotted rayon knit, taking a bit more time due to setting up the cover stitch machine for the hems and making a facing for the back neck.

The pattern directions have you finishing the neck by turning and stitching. This is fine for children's tops, in a sturdier knit such as cotton, and you could add some sort of stabilizer under the turn-and-stitch finish.

Turn and stitch back neckline


But I learned a great technique for a knit neckline from HotPatterns.

The facing is only on the back neckline but neatly encloses and reinforces part of the shoulder seams.
Here are some photos which show the steps to sewing in the facing. (Sorry for the stripes; they show up because of my fluorescent lighting.) I drew a back facing using the back pattern piece as guide, then cut and interfaced the piece.

After attaching the facing to the back piece, sew the shoulder seams. Then, turn the facing down over toward the front.


After the facing has been applied and turned to the correct side, stitch down the edge with a zigzag stitch to keep it from flipping on you.


Wednesday, September 4, 2013

Jalie Crossover Top

I dug out this pattern because my 12-year old expresses admiration every time I wear the fuschia and black top I made. So since Jalie patterns include the whole range of sizes from toddler to way past mine, it was time to take advantage of it. I bought this pattern years ago, and made 2 tops. I liked the tops, but I've also been sewing other very similar wrap tops from other patterns. I've come to the conclusion that the Jalie wrap top is my favorite.


For the version with the sea-green band, I made the back hem with a curve, rather than straight. 
I made this version in autumn colors several years ago, in rayon knit, with non-stretch faux suede bands.

This top is so quick to make! I am averaging about 1 hour per top.

Sunday, September 1, 2013

Ready for Winter

While it is still pretty warm to be trying on a wool coat, Isabel gladly modeled it for me, as she was quite excited to receive a nice coat.
There are several things about this design that I really like. The belt detail is a bit unusual and actually doesn't look bad unfastened. When the belt is unbuttoned, it doesn't hang down too low, and there's no way to lose it. Or instead, it can be left fastened while the rest of the coat is unbuttoned, for a bit of climate control. While the size and shape of the patch pockets can easily be customized, the idea here is that they are nice and deep, so things don't fall out as easily. And finally, the oh-so-easy-to-construct collar can be worn up to guard against wind, or folded down, and there was no notch construction to deal with. 
I wanted this coat to be roomy enough to wear with a sweater, so I made a size 40, with no alterations, and I am quite happy with the fit. 

Saturday, August 31, 2013

Coat Lining

Oh, what a glorious Saturday, and how relaxing it is to be finishing a coat that already looks good. 


Estate Coat

It's certainly time for a blog restart! Now made much easier via an iPhone app.
My current project: a coat for Isabel before she goes off to college. 
Pattern: Burdastyle mode 102 August 2013
Fabric: Brown heathered wool, prewashed
Lining: Chinese style brocade, polyester (probably)
Here's the model pic from the magazine.


And so far, here's what I've got. No lining yet, and unhemmed. I thought my wool fabric would be too light for a coat, but with all the pieces sewn together, it actually has a hefty weight! Plus, my lining is going to have some body as well.
The Burda directions actually have you doing bound buttonholes, which I should have looked up on the Colette website before I went and did half of them the more time-consuming way. On to the lining!

Wednesday, August 1, 2012

Knits are Comfy and Fun

Well it surely has been a while, but that does not mean I haven't been sewing!
One of my favorite things to do is to sew something QUICK! And one way to do that is to re-vamp a T-shirt. I'm not sure if I like that word, re-vamp. I think I like "transform" better. Here is a T-shirt transformed into a halter dress. The T-shirt was a size Small, so okay, the waist is a bit snug, but I don't think it's too snug.  I wore a halter dress when I was a little girl, and I never thought I would ever wear one again. But here I am, 50 yrs old, wearing not just a halter dress, but a mini halter dress. With the cruise ship graphic, it so invokes the feel of a relaxing vacation. The bust/straps which I drafted myself are cut from navy ITY jersey, lined, with swimsuit cups so a bra is built in.


My next project to show you is a dress from HotPattern's Riviera Côte d'Azur Knit Dress pattern. I used the tunic version, just lengthened a bit. I also added an ungathered ruffle. (Not sure technically what the name for it is.) My fabric is silk jersey I bought at Paron's in NYC last year. It feels wonderful, but shows EVERY bulge and bump underneath. I actually wanted to take this picture to show you, but with the flash, go figure--it doesn't show. Anyway, I've got to make some sort of slip to wear under this now. That silk jersey is like wearing nothing. I love this pattern! I've also made a top out of navy rayon jersey from it. A comfortable T-shirt, but so stylish and flattering.

Here's another hot pattern from HotPatterns! One of their newest patterns, the Verano Dress and Top. I made this top with printed rayon jersey I've had for a long time. Wore this to my daughter's homeschool graduation party. I think it's pretty cheerful, don't you? The pattern has a twist, right in the middle at the waistline. The only problem is it seems a bit square-ish. So I finally figured out how to alter all the HotPatterns patterns for myself. SBA! Small bust adjustment, and also taking out an inch off the center back. It's pretty consistent.
I left the dress, in ITY fabric, a little long to wear to church. I cut a size 8 but after it was finished, I shaved the side seams in a bit.  I think somehow the twist gets lost in the print, and also the fabric is so fine that it hardly looks bunched up where it's supposed to be. The pattern could be adjusted to include more fabric in the bunching part, for finer fabrics. The neckline seems like it could go a little lower (listen to me!?), but for wearing to church, maybe it's just right. Oooh, these shoes are just wrong with the dress. Oh well, I don't really wear them anyway.

Saturday, February 4, 2012

Safari Lipstick Purse


When I finished this purse I showed it to my daughter and she said, "Oh, I like it! That looks like something you would keep your lipstick in when you go on safari!" Ha! I have never been on safari, but I suppose there might be those ladies who would still keep their lipstick close at hand. This pattern is from HotPatterns Big Love Fringed Hobo & Baby Love Shoulderbag. I got it because it was on sale, and so now it is no longer available from HotPatterns, I'm sorry to say. But they do have lots of other very nice bag patterns.


It was not easy choosing the materials to make this bag. Since I don't like to take the trouble to change bags often, I would want my bag to go with just about everything I would wear.  I love leather and it's not easy to find bags made with real leather anymore. The pigskin suede I used for this bag came from Fabricmart.com, and the zebra-print cotton canvas probably did, too. I was so proud of myself for choosing a special leather needle, but I probably needed to have an even sturdier needle for this suede. The needle seemed to stick to the suede slightly, and my stitches are not at all as even as I would like.


Seam allowances colored red are the ones to trim off leather pieces. Also note the side lining piece, possibly mis-labeled. It should read, Baby Love, not Big Love.


While the directions said to start with the lining, I just couldn't wait to get started with the body of the bag. The body is very cleverly shaped. The directions say to "Trim the upper seam allowance from the overlay panels".  I contemplated this for a long time. Too long, and I still got it wrong. Wherever the seams(darts) are to be sewn, do not trim the allowance off. Where the cut edges are topstitched onto the bag, trim those.


I didn't understand the wording in the directions, and I cut all the seam allowances off the overlay pieces, so the corner seams on my bag are not as neat as they should be. I had to make sure the edges were enclosed. The directions say to sew the darts (which are curved, by the way) first, then the side seams. I think you can start at the top edge and sew the seam and the dart all in one, making sure the edges of the leather are even.


How to begin the strap
The strap, with seam allowances folded in and clipped


Strap with loop pieces added

Corner pieces added to loop


The hardest part of this project is getting the corner pieces on. The top side edges of the bag are enclosed in the leather corner pieces (2 pieces each side). I do not have any better suggestions other than maybe glueing the inside corner piece to the edge first, then laying the outer piece on and topstitching all around.


I added a buckle with a hidden magnet snap instead of D-rings so the bag would be easier to clasp. This idea came from a purchased bag I own.

I did not put in the studs because the leather is beautiful on its own. Also, adding the studs seemed like it would have been a lot of trouble for the first try. I was most afraid of not being able to understand the directions. But except for adding the corner pieces, this bag is not difficult to sew.

Tuesday, December 6, 2011

Simplicity 2508

 Simplicity 2508
This is a great coat pattern. The raglan sleeves and princess seams give it a flattering line. I made one in heavy cotton twill for my daughter last spring, and she has been wearing this, oh, only just about every time she goes out. The one pictured below in navy is mine, finished a few weeks ago. I love having a coat of this length. In Oregon, we don't really have a need for longer coats. They would just be cumbersome. For more info check my review.


Jacket version


Isabel likes to wear her jacket with everything!

Monday, December 5, 2011

Down Comforter Fix

Have you ever had a comforter that went flat in the middle, and wondered where all the feathers went? That's eventually what happens with the ones that have channels sewn in a way that allows the feathers to go whichever way they want to. The problem is, you will end up with all the feathers migrating to the four corners of the comforter. I decided to put an end to this, and sew those channels shut. First I had to hold on to each corner and shake (like crazy!) the majority of the feathers to the middle.

Then I started with each corner square and made sure each box was closed with stitching. I did the same down rows near the edge, and then moved to the next inside row. I allowed the outside rows to have access throughout the row, but not to the next row. I made sure most of the feathers were limited to the middle section. Took me over an hour to do this, but, Hooray! Sure beats buying a new down comforter! 

Sunday, December 4, 2011

Sunday Afternoon Sewing


My sewing time this weekend consisted of a few hours this afternoon. Not enough time to finish anything, but I got a little done on a few things.  Below is some brown wool basket weave fabric from FabricMart.com, to make a coat for my older daughter. I used this same pattern to make her a jacket of cotton twill, which she wears all the time. But she will need a nice warm, dress coat for winter, so why not the same pattern. However, I will somehow have to find 18 buttons of the correct size (7/8"), similar to the one in the photo. Last time I did this I had to go to Hancock Fabrics three times and buy all they had of the right button because they only stock 6 of them at a time!  It just figures that of all the hundreds buttons in my stash, I found ONE that I would use with this coat.


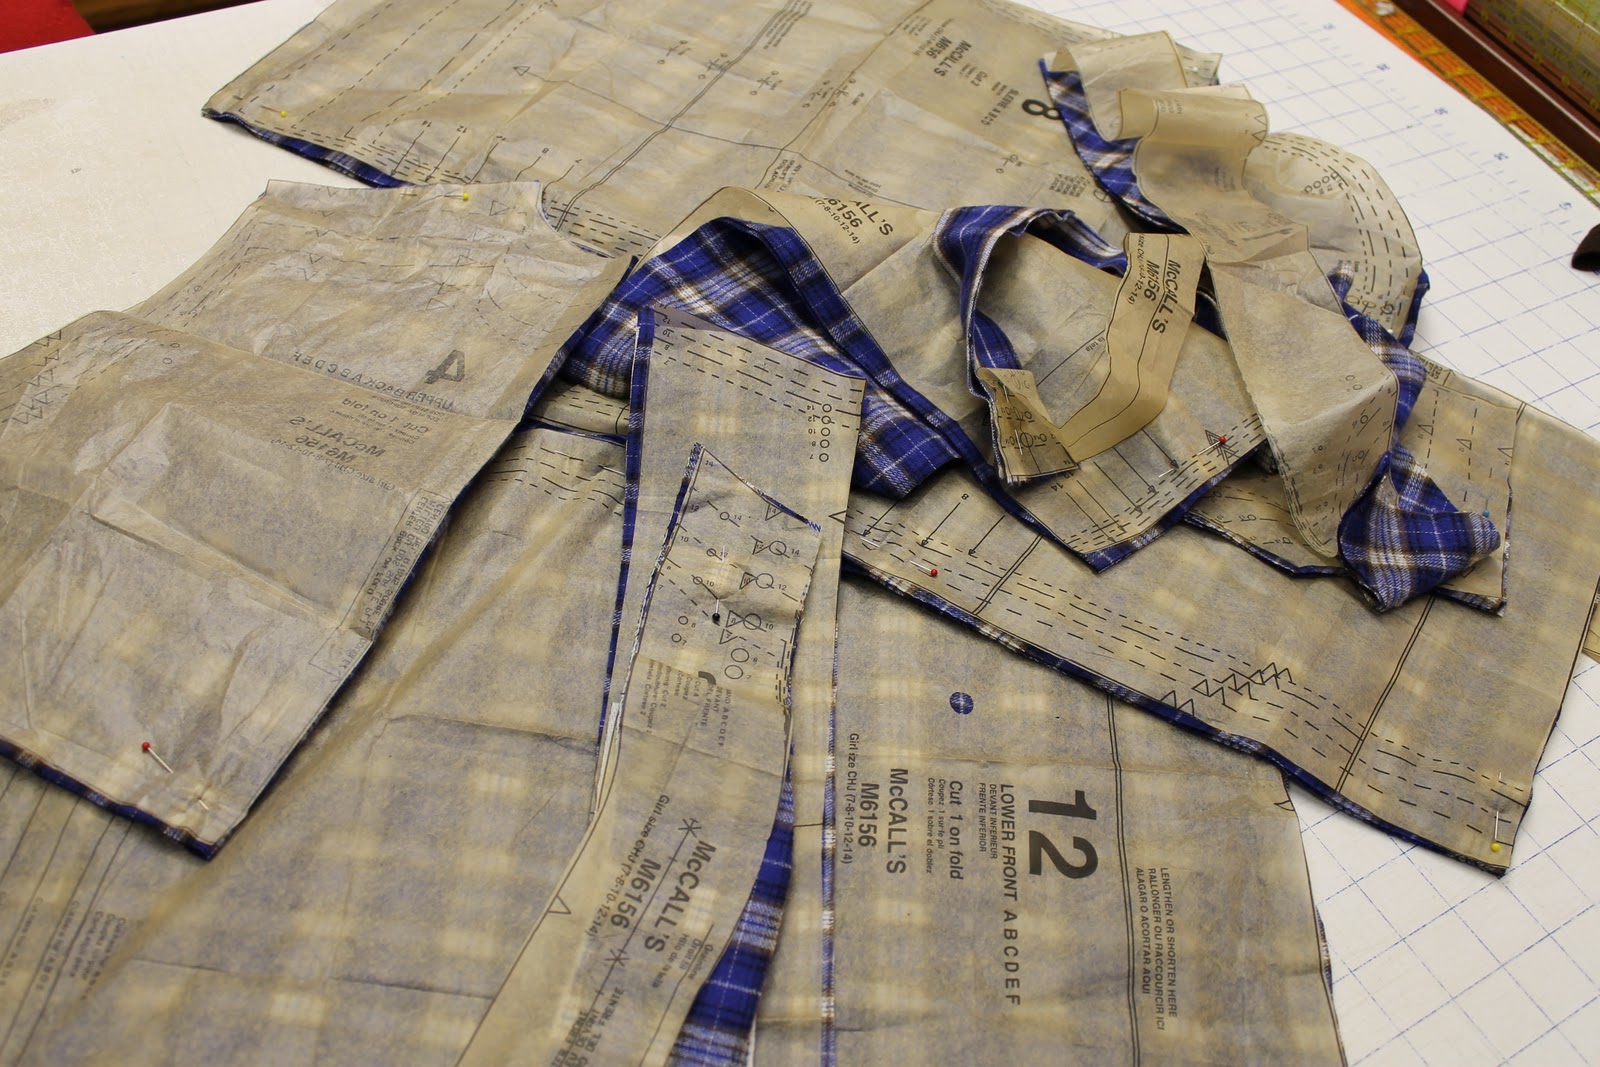
While the wool was being pre washed, it's on to the next project, a flannel dress for my younger daughter. She asked for a warm winter dress, but is it close enough to Christmas that I can save it to put under the tree?


The pile of cut pieces
I would have found more garments to cut out but I was feeling my legs from yesterday's humongous workout. So I pulled out these pieces I am saving for a charity quilt, with a pirate theme, and soaked and ironed them to preshrink.  The squares were part of a layer cake, and the top two in blue skull design and bright green batik I found at Hancock's, for the back of the quilt. It doesn't look like a very pleasing color coordination to me, but I'm thinking that the kid who ends up with it will only be looking at pirate-themed prints of the fabrics.


Shirred Stretch Dress

Burdastyle's  Stretch Jersey Dress 08/2018 #112  is sure to be one of my all-time favorites. I'm sure I will make this over and ove...