Wednesday, April 30, 2014

Moto Jacket

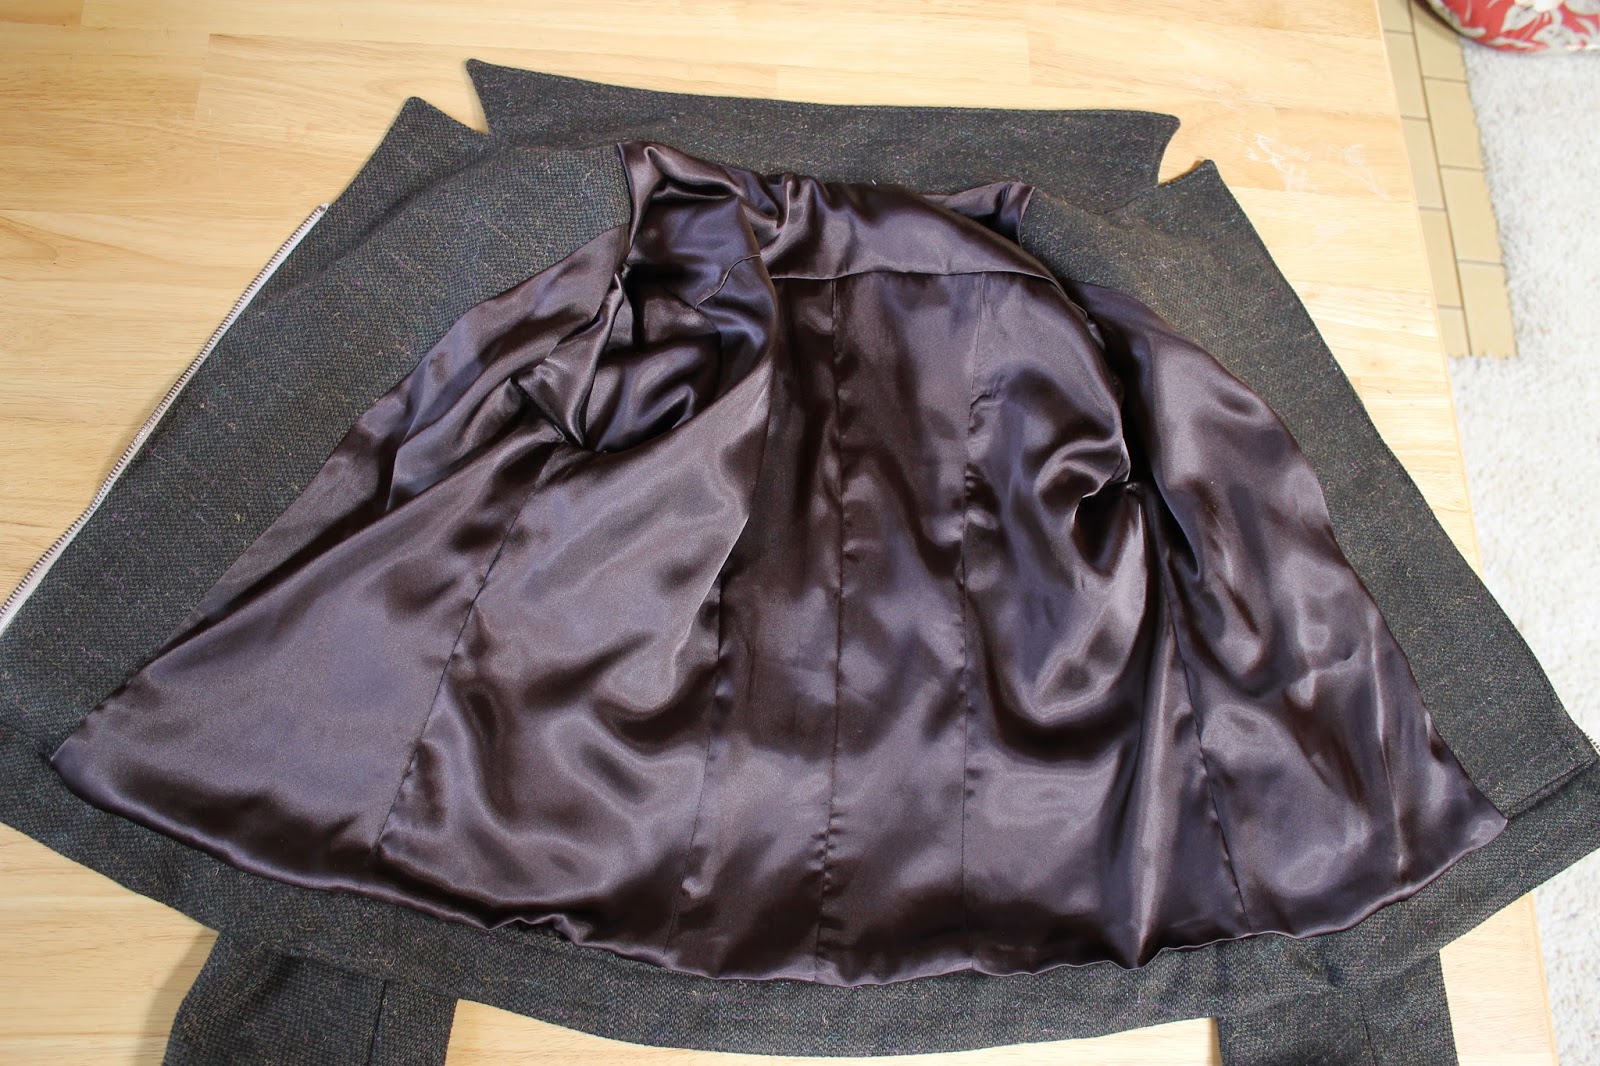
 I needed another short jacket. This is HotPatterns Denim Diva Biker Babe Jacket. Oh yeah, me--a biker babe, heehee! Love this jacket though. In wool, it looks kind of classy I think.
Making the muslins was not fun. Check my pattern review, link on the right side of this page, for details of my alterations. I get very impatient, but now I've got a finished product, and I can still go on to tweak the pattern here and there. In the next version I'll take it in a bit more, and change the pockets. Maybe widen the hip band.
I really didn't have to alter the back pattern pieces at all.


The feel of this chocolate-colored charmeuse is wonderful! Lining a jacket is so absolutely worth it.

And now, here are some snapshots of the pattern pieces I've re-drafted.


Friday, April 4, 2014

Installing the Gusset in Japanese Pattern

This underarm gusset design detail is one I found in the Japanese sewing book that I reviewed in an earlier blog. I had a bit of trouble sewing it in the first time but I left it in and hemmed the sleeve that way. It came out a bit wonky, but I still think this design feature is very unexpected and an indication of good dressmaking.
There are places for matchpoints in the gusset and on the side seams, which need to be marked.

The bodice and gusset pattern pieces
In this diagram, the bodice pieces are on the bias, and the gusset pieces are laid out straight, but this is not a requisite. In these photos am actually using the other dress pattern in the book with the same gusset, but the directions have you cutting the gusset on the bias, and the bodice pieces on the straight grain. This probably has more to do with the visual aspect of making the gusset elegantly noticeable.
This is what you end up with
 I start by tracing out the sewing lines and match points on the bodice back and front.

Then I staystitch with a small stitch length along the line, and clip right to the stitching (don't cut the thread) several times so that the edge can be opened out straight.


And that is what makes it possible to sew the gusset piece on to the bodice pieces. 
If you did an accurate job cutting the gusset pieces out, you should come out even at the sleeve edge. (Not like I did my first time--there was a 1-inch difference!)

There is a bit at the bottom of the bodice pieces where the front and back are sewn on to each other. I sew the gusset on first to the front or back, then the other side, breaking the stitching at the point of the gusset.


And serge or finish the edges.


Thursday, April 3, 2014

Bardot-Inspired Dress

Here is the Brigitte Bardot dress from the book I just posted about. It might take me some courage to wear this. I think it looks better on the dress form.
The whole bodice except for the gussets, is interfaced, since it was cut on the bias. The advantage is, it adds opacity and body to the cotton voile. However, the dress is lined anyway. The lining really is necessary to face the neckline edges. 

The most difficult part about the dress (besides the time-consuming fusible interfacing application) was fussing with the gussets. As I am on to sewing my next dress from this book, which also has the gusset, I've figured out how to make this easy to do. Watch for that topic here soon.


Wednesday, April 2, 2014

Leaning Toward Retro

Here is my show-and-tell on one of the best sewing pattern books I have discovered since Gertie and Colette's. It is mostly in japanese, so the title is a bit humorous--Fascinating Dresses from the Memorable 60s Movies. Subtitle, "Have You ever Wished to be Glamorous Like Them?"

I heard about this book from an entry in PatternReview.com and asked my brother in Japan to look for it. He found a used copy and sent it to me. He mentioned the pictures of the model in the book reminded him of old pictures of our mom.  It's okay for someone to "regress" to fashions that were before one's time, right? But I sure think these would look amazing on young ladies.


Unfortunately, I do not read japanese, so I can only guess at what the captions and instructions say. Perhaps it's not so important anyway, especially since I am familiar with basic clothing construction.

These clothes are so cute! And it's delightful how they interpret the glamour of all these movie stars with this one Japanese model.
I love the cut of this raincoat styled after Catherine Deneuve, and the fresh minty color!

Here are 2 of the 4 Brigitte Bardot styles. I made the one on the right, which I'll show you in my next blog entry.

There are photos from old movies interspersed throughout the book, but go figure, the clothing designs are not really close to what the actresses are wearing in these photos.


Two of the Katherine Hepburn-inspired styles. She was famous for wearing drapey trousers, but these aren't offered as one of the patterns. 


Here are instructions and diagrams for the Brigitte Bardot dress that I made. Fortunately the drawings are much better than the previous "style" drawings. They are actually very helpful. Notice the illustration that shows to interface the entire front and back of the bodice. That is because the bodice is cut on the bias in order to turn the gingham design diagonally. A more unique feature is the underarm gusset (not interfaced). There are two dresses in this book that feature this gusset. I really like the concept of it, but I wasn't happy with my execution. How to sew an acute angle onto an obtuse angle. 

The layout diagram for Bardot dress. The dress has a lining, which I think is should be laid out straight rather than on the bias.
The pattern sheets are printed on top of each other with no seam allowances, as in Burdastyle. 

There are only two sizes offered, M and L.  I would use a 38 or 40 in Burdastyle, and I used the L.


More info:
ISBN 4-579-10691-1
author, Yukiko Ueno
copyright 1996 printed in Japan

Monday, March 24, 2014

An Elegant T-shirt

I didn't expect to like the HotPatterns La Strada top as much as I do. After tinkering with the fit a little-- doing a SBA and shortening the length and sleeves a bit, I ended up with a perfect little pattern that I can whip up an elegant top from in about 2 hours. The creation of this garment was greatly speeded up by watching the very convenient tutorial video provided by Trudy, the pattern designer!

Here is the first version. I just love this color--reminds me of café creme, warm and comfy. But unfortunately it doesn't do much for my skin tone. I will probably just wear it around the house.
 
The muslin which got cut down a few times in attempting to get a closer fit.
Version in printed cotton interlock, light and summery

Version in solid cotton interlock, attention-getting hot color!
Version in purple rayon knit, extremely sexy drapey

Daughter's version in canteloupe-colored rayon knit
 With just a minor adjustment in narrowing the hips, I used the same pattern to make my daughter one for her birthday. In the back view photo, you can see the ruching on the back neck, which is a nice detail you don't see often in sewing patterns.

Dress for Success--Vogue Men's Suit Pattern

Well, here finally are the finished photos for the suit. I didn’t realize that I had left this project hanging (blog-wise) for so long—sorry about that! 
I was very happy with the pants pattern and instructions. I think this is the best-fitting pair of pants my son has ever owned.
My conclusion about Vogue 8890 is that this may be a good place to start for someone who has never done tailoring before.  It would be best to study a tailoring book such as Roberto Cabrera’s Classic Tailoring Techniques , or Tailoring, the Classic Guide to Sewing the Perfect Jacket. That being said, I would add that it is a great thing that Vogue Patterns offers this gem of a modern, European-cut suit. Hopefully they will keep it in print for a long time.


Monday, September 23, 2013

Suit Progress

The suit is coming along nicely, although I spent a lot of fiddly time on one of the pockets. I don't think the method described in the Vogue instructions is the best, but I think it could be mastered with a bit of practice. 

Here it is halfway done, trying it's best to hold itself up on my female dress form.
 

And now the sleeves with their vents. These were pretty easy, with satisfyingly good results. The buttonholes are not to be cut, with the buttons being sewn right onto them through the layers. Personally, I think it would be easier to sew the buttons on with the vent open and just go ahead and use the buttonholes. But I suppose it looks neater not being cut.

And some fun sewing room pictures.


Friday, September 13, 2013

Vogue Suit Guy

As of coffee break today, this is what I have done. I am working on a suit for my college son in Chicago, who sure seems to play dress-up quite a lot for dinners out with various friends and interest
groups. 
Here is one of the lower pockets, with its flap ready to be put in. The fabric is navy blue wool, much darker than this photo shows. The fluorescent light in my sewing room is just terrible for photos! I wasn't going to worry about matching the stripes, as they are barely noticeable, but well, there they are in the photo, and so I might have to redo those flaps. Guess I should have cut them out after preparing the pocket opening.

I've done the cutting in two sessions this week. What a lot of pieces. Here are just some of them on my pingpong table, which has been my favorite place to cut lately.


Here's the pattern, which I have to keep hidden else my husband bursts out laughing.


The State of my Sewing Table


Shirred Stretch Dress

Burdastyle's  Stretch Jersey Dress 08/2018 #112  is sure to be one of my all-time favorites. I'm sure I will make this over and ove...