Tuesday, December 6, 2011

Simplicity 2508

 Simplicity 2508
This is a great coat pattern. The raglan sleeves and princess seams give it a flattering line. I made one in heavy cotton twill for my daughter last spring, and she has been wearing this, oh, only just about every time she goes out. The one pictured below in navy is mine, finished a few weeks ago. I love having a coat of this length. In Oregon, we don't really have a need for longer coats. They would just be cumbersome. For more info check my review.


Jacket version


Isabel likes to wear her jacket with everything!

Monday, December 5, 2011

Down Comforter Fix

Have you ever had a comforter that went flat in the middle, and wondered where all the feathers went? That's eventually what happens with the ones that have channels sewn in a way that allows the feathers to go whichever way they want to. The problem is, you will end up with all the feathers migrating to the four corners of the comforter. I decided to put an end to this, and sew those channels shut. First I had to hold on to each corner and shake (like crazy!) the majority of the feathers to the middle.

Then I started with each corner square and made sure each box was closed with stitching. I did the same down rows near the edge, and then moved to the next inside row. I allowed the outside rows to have access throughout the row, but not to the next row. I made sure most of the feathers were limited to the middle section. Took me over an hour to do this, but, Hooray! Sure beats buying a new down comforter! 

Sunday, December 4, 2011

Sunday Afternoon Sewing


My sewing time this weekend consisted of a few hours this afternoon. Not enough time to finish anything, but I got a little done on a few things.  Below is some brown wool basket weave fabric from FabricMart.com, to make a coat for my older daughter. I used this same pattern to make her a jacket of cotton twill, which she wears all the time. But she will need a nice warm, dress coat for winter, so why not the same pattern. However, I will somehow have to find 18 buttons of the correct size (7/8"), similar to the one in the photo. Last time I did this I had to go to Hancock Fabrics three times and buy all they had of the right button because they only stock 6 of them at a time!  It just figures that of all the hundreds buttons in my stash, I found ONE that I would use with this coat.


While the wool was being pre washed, it's on to the next project, a flannel dress for my younger daughter. She asked for a warm winter dress, but is it close enough to Christmas that I can save it to put under the tree?


The pile of cut pieces
I would have found more garments to cut out but I was feeling my legs from yesterday's humongous workout. So I pulled out these pieces I am saving for a charity quilt, with a pirate theme, and soaked and ironed them to preshrink.  The squares were part of a layer cake, and the top two in blue skull design and bright green batik I found at Hancock's, for the back of the quilt. It doesn't look like a very pleasing color coordination to me, but I'm thinking that the kid who ends up with it will only be looking at pirate-themed prints of the fabrics.


Saturday, December 3, 2011

Two Mini Cardi's

 So here is the pocket which hides the spot I melted with my iron! I probably didn't have to cut an extra piece as "ribbing". I could have just turned down the upper edge, since the pocket is interfaced. And, as you will see in the lower photos, the pocket should be shorter or the tie belt overlaps it when worn. Ah, well. I'm not going to worry about it.

The version in cotton knit, very comfortable!

And in the gold metallic knit, which by the way, should not be ironed! Let the seams do what they want...  I have NEVER melted anything else before! The metal threads get really hot, and melt the acrylic or whatever the other fiber is.  I used casual buttons so this can be worn as casual wear as well as to a party. A very unusual color, too. Out of my many, many thread colors I've acquired, nothing matched this fabric! What color is it? Not brown. Not red. Terracotta! 


Friday, December 2, 2011

Swimsuit, in December?

For some reason my 10-yr old daughter started browsing swimsuits on her iPod. (Yet another disadvantage to letting your kids have electronic devices!) She started getting more obsessed with these swimsuits and was emailing me photos of the ones she wanted. I pulled mom-rank and ruled that if she really had to have a two-piece, it should not expose her belly-button. For now, she is accepting that. Whew! We'll see about next year...
Anyway, this is one of the suits she liked, that I didn't have a strong negative reaction to (which she still cringes at.

I pulled out this old pattern from Stretch N Sew and told her I could modify this and that and... she looked at the pattern envelope and said she liked it AS IS! Except, could you add cups? She asked. Um, No. No.


Okay, great! So I used the smallest size on the version on the right. Made a muslin, which she thought was great, wanted me to finish it. (Ha!) By now, I know the difference between cheap swimsuit fabric and good swimsuit fabric, as in, Patagonia.


 Here it is! Doesn't she look happy?

Wednesday, November 30, 2011

Mini Cardi Goes Everywhere

I bought this pattern from HotPatterns on sale for $9.95.  I have no idea when this first came out, but what a classic this is. Too bad HotPatterns doesn't have any more, but maybe you can find another source like eBay.

I have only made the mini cardi so far. Here is my daughter in the first version I made, in heathered blue ITY fabric. Second version, also blue, in cotton knit. I let Isabel choose and I guess the slinky ITY fabric appealed more to her. In the next version, I interfaced the front band (not including the back neck) and brought the sides in a bit. It is cut very straight, and the shape was improved by tapering the sides. 


 I'm working on a gold lame version, also short-sleeved hip-length. I bought this fabric from Vogue Fabrics in Illinois, "gold metallic knit on brown", 3.99/yd. It is very pretty although completely synthetic fiber. I had my iron set on low(silk/synthetic) but somehow melted a spot in the front when I was pressing the seam. I already had the sleeves set in, so I didn't want to replace the piece. Well, this is a good reason to add the pockets, so that's what I did.
 The fabric (did I mention "synthetic"?) does not press well at all, but luckily the interfacing I bought from Fashion Sewing Supply greatly improved the ease of handling. This stuff is so nice! My gold metallic knit was proving to be real disappointingly cheap-o fabric, and Pro-Weft medium fusible interfacing fused to it easily and beautifully!  Though I try never to do hand-basting, this seemed necessary to get the patch pockets looking accurate and even. The pockets took a little extra time, but they look so nice.


Here is a tip for setting in 2-pc raglan sleeves. Sew the underarm seam first, leaving the shoulder seam open. Sew this to the back/front assembly. THEN sew the upper seam on the sleeve. Duh! So much easier! Or maybe you already knew this, but I didn't!
Check back for more pictures next time!

Sunday, July 31, 2011

Blousy blousy


I don't usually try to recreate what I see in the sewing magazine photos. But when I saw Burdastyle Magazine's June cover featuring this dress, it reminded me of the coral sandwashed silk I've had stashed for some years. I was a bit suspicious of how the pattern would look made up. There is no waistline on the pattern, and it is cut so loose through the body. Will I regret making this? But on closer inspection of the pattern, I found that it is cut on the bias. Okay, just about everything I have made that is cut on the bias has turned out to have a pretty sophisticated look. I knew I wanted to make both a top and a dress with this pattern. Starting with some soft thin rayon in a lavender print, which I haven't found anything to do with before, I cut a dress muslin.
While fitting the dress without the neckband, my concern was that the neckline would be too low. So I sewed into the shoulder seams another 3/8" which would have been equivalent to cutting the next size down, just in the shoulders. I guess this is an alteration I have done quite a bit except for sewing outerwear. In the front facing photo the silhouette looks quite big around the hips and waist, but because of the bias cut, moving around in the dress doesn't actually make it look that way. The neckband somehow looks a little narrow but, okay, that's the way the pattern is. 


And here is my sand washed silk! I pre washed it, and it had some hanging lines, which are now on the diagonal, but I was able to press them out so they are fairly faint. The silk hangs much more beautifully than the rayon. I almost thought I shouldn't cut it on the bias, but it is amazing this way. 

Next, to use another silk I have had since before our move to the West Coast! Beautiful ivory silk charmeuse with a jacquard. It's hard to see, but the design is tulips. Love it, and it feels like a dream. 


Finally,  I have to show you how I got the blouse cut out of ONE yard of Liberty of London fabric! I bought this very pricey fabric (this is not like me) from B&J in New York city. Well, I was there and I had to choose something to bring back home! You know it's expensive! I asked if L of L ever goes on sale, and the clerk kindly said, "No."

 Okay, it does look kind of like a maternity top in the picture. But hey, maternity tops are "in"! Anyway, if my 17-yr old says it looks good, it looks good!

So my first idea was to use the fabric for the JJ blouse. But luckily 
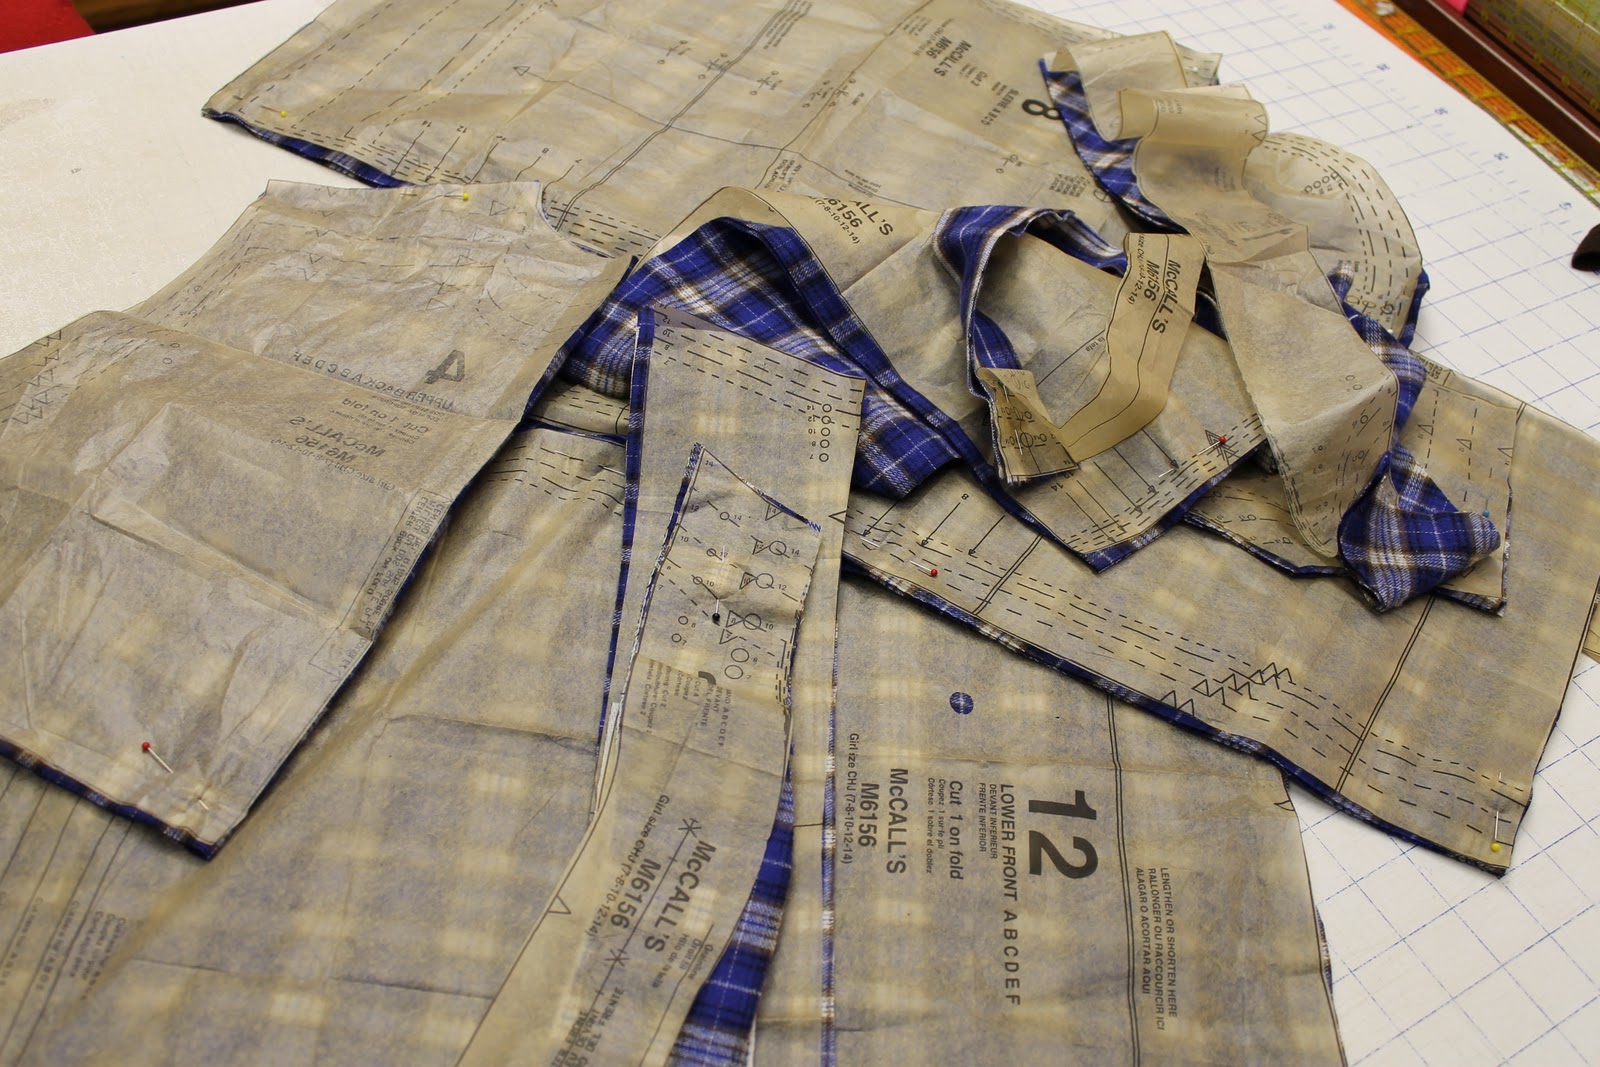
this pattern came along, and it is perfect because it has no buttons or buttonholes to mess up. Now, to get it out of the 1 yard of fabric, I pieced the back corner. There is a photo of the inside, and one of the outside. I didn't actually plan to match the print, but it turned out fairly inconspicuous.
One more useful tip for the neckline. Well, a few more. I widened the edge side of the neckband pattern pieces by 1/4". Somehow this just seemed more pleasing proportionally. And I was very careful to re-trace it so that is was more accurate. I was not happy with my accuracy in the previous 3 versions! Next, I block-fused the pieces. (Thanks, Pam!) Meaning, I cut the pattern pieces out after the fabric was fused to the interfacing. Much, much more accurate this way, and you actually don't take more time or fabric. Remember to stay-stitch and clip the curves, and then to understitch, and press well and carefully.  Finally, the last tip which will save you lots of time is, to serge or finish off the edge of the neckband facing instead of folding it in. Then, stitch in the ditch or topstitch from the right side. 

Would you sew it again? Would you recommend it to others?
Yes, yes, yes!

Wednesday, January 5, 2011

More Uptown Downtown

Such an easy dress to make as a Christmas gift for my DD. (See my last entry for more info on this pattern.) The bodice is made in rayon knit, and the skirt in a textured poly knit. For this version, I tried cutting down the neckline a bit further, though not too much. Just shaved off about 1/2" down in the front only. The neckline is still a lot higher than I would like, and this rayon is very stretchy. The edge of the ribbing curls out a bit. I'm very happy with how the navy poly fabric was just right for the skirt part of the dress. I had made a top in it, which turned out to be not very breathable.


 Another way to wear the espresso version.

Trudy of HotPatterns was right when she mentioned I would be making a lot of these.  Also, if you are at all interested in sewing this dress, you should watch Trudy's great video on how to do it!

Shirred Stretch Dress

Burdastyle's  Stretch Jersey Dress 08/2018 #112  is sure to be one of my all-time favorites. I'm sure I will make this over and ove...